
Guide · 6 min read · July 6, 2026
What actually ruins night photos — and what's fixable
Noise, underexposure, and motion blur are three different problems with three different fixes. Knowing which one you're looking at tells you whether an editor can save the shot.
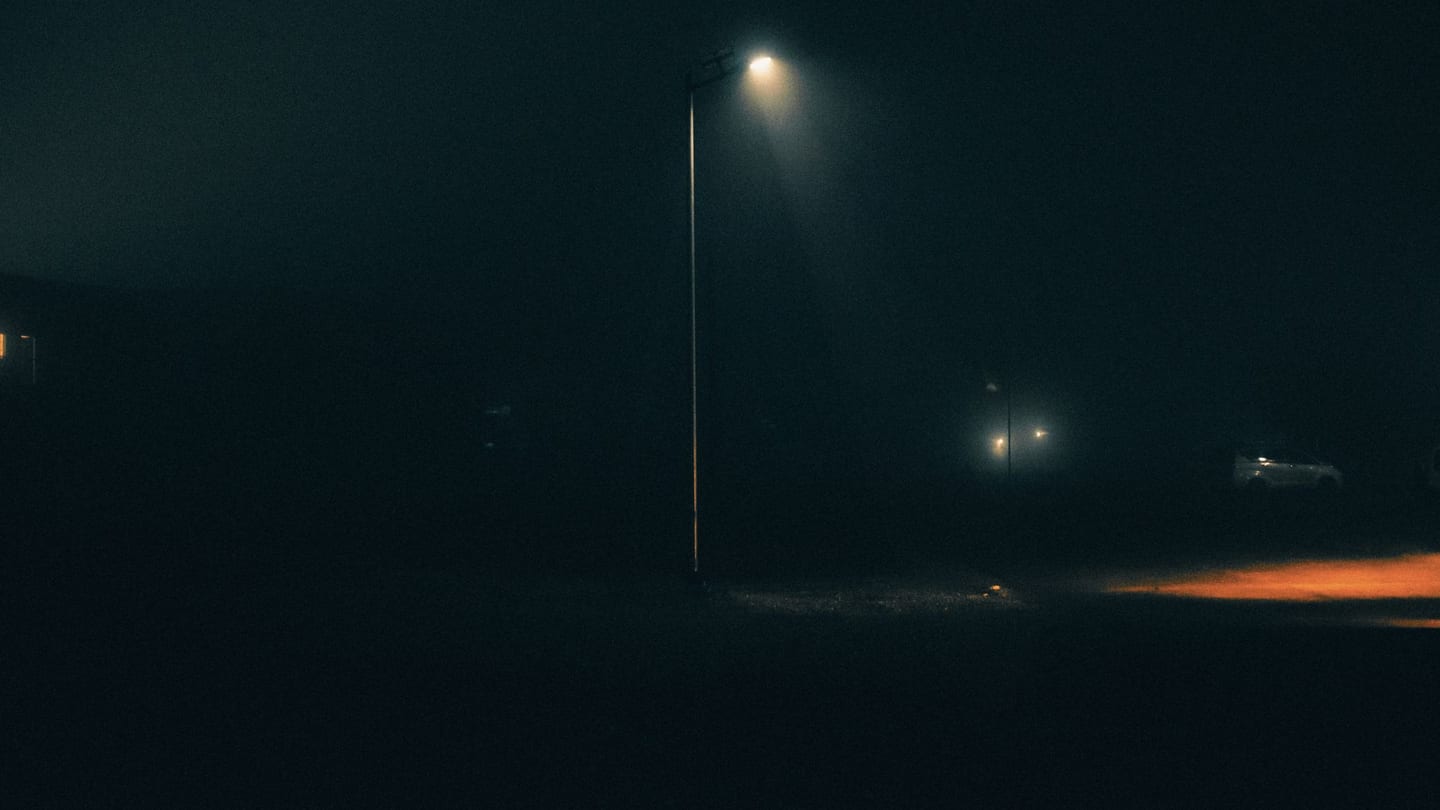
You take the shot — a lit-up street, a friend against the skyline, the inside of a bar — and on the screen it looks nothing like what you saw. Too dark. Grainy. A little smeared. It’s tempting to write the photo off, but “bad night photo” is really three separate problems wearing the same coat. Tell them apart and you’ll know, in a glance, whether the shot can be rescued or whether it was lost the moment you pressed the shutter.
Three things go wrong in the dark
Almost every disappointing night photo is some mix of:
- Noise — the grainy, speckled texture, worst in the shadows.
- Underexposure — the whole frame is simply too dark.
- Motion blur — edges are smeared because something moved during the exposure.
They look similar at a glance and they often show up together, but they come from different causes — and only two of the three can be fixed after the fact.
Noise: the grainy speckle
In low light your camera cranks up its sensitivity (ISO) to gather what little light there is. That amplifies the real image and the sensor’s background static, and on a small phone sensor the static shows up as noise: fine luminance grain plus blotchy color speckle, most visible in dark, flat areas like a night sky or a shadowed wall.
Fixable? Yes — within reason. Denoising averages neighboring pixels to smooth the speckle away. The trade-off is detail: push it too hard and skin, textures, and fine edges start to look waxy. Good denoising is a balance, not a slider you max out. LuminaClean’s Local engine does a light in-browser smoothing pass; Cloud AI runs a dedicated night-photo model that separates real detail from noise far more convincingly.
Underexposure: the photo that’s just too dark
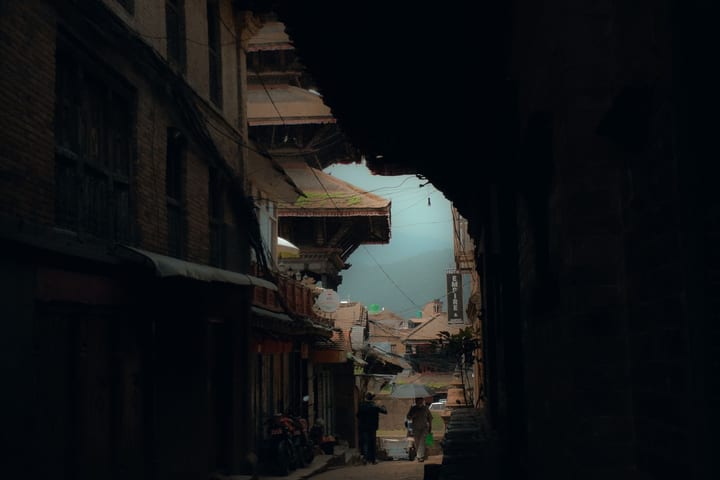
Underexposure is the simplest problem to describe: not enough light reached the sensor, so the whole frame sits too low. The scene is there — it’s just buried.
Fixable? Usually, up to a point. Lifting the shadows (raising the gamma) pulls the buried detail back into view. But there’s a floor. Detail that never registered on the sensor can’t be invented, and the harder you lift, the more you also amplify the noise that was hiding in those shadows. That’s why exposure and denoise belong together: brighten first, and the grain you brightened along with it needs cleaning up.
Motion blur: the one you can’t undo
To collect enough light, a night photo uses a long exposure — the shutter stays open longer. If the camera moves during that window, the whole frame smears; if your subject moves, just they do. Either way, the light that should have landed on one pixel got spread across several.
Fixable? Mostly no. This is the important one to accept. Sharpening can exaggerate edges, but it can’t rebuild detail that was never recorded in a single place — the information is genuinely gone. Motion blur is a capture-time problem with a capture-time fix, which is exactly what the companion guide, Shooting better night photos with the phone you have, is about.
Telling them apart at a glance
Because they travel together, it helps to know what each one looks like on its own:
- Noise is uniform speckle, worst across large flat dark areas — a night sky, a shadowed wall — and it’s there even where nothing in the scene moved.
- Underexposure is plain darkness. The shapes are still sharp; there’s just no brightness. Turn your screen up and you can usually make out the whole scene hiding in the dark.
- Motion blur is directional. Edges are smeared along the direction of movement while genuinely still parts of the frame stay crisp. Camera shake streaks everything one way; a moving subject streaks only itself.
A quick test: zoom into a hard edge — a sign, a railing, someone’s jaw. A grainy-but-defined edge is noise you can clean. A doubled or streaked edge is motion blur you can’t.
What an editor can and can’t rescue
A quick field guide to setting your expectations before you even open the tool:
- Too dark → fixable. Lift the shadows, then denoise.
- Grainy → fixable, at a small cost in fine detail.
- Slightly soft from a tiny shake → sometimes; a little sharpening helps.
- Badly smeared by motion → no. Reshoot if you can.
- Blown-out streetlights and signs → mostly no. Clipped highlights hold no detail to bring back.
Notice the pattern: darkness and noise are recoverable; lost detail is not. Underexposure hides information, so you can dig it out. Motion blur and clipped highlights destroy information, so there’s nothing to dig for.
Where LuminaClean fits
LuminaClean targets the two fixable problems. The Local engine brightens and smooths your photo instantly, right in your browser — nothing is uploaded, and it’s free and unlimited. Cloud AI sends the photo to a night-photo model that denoises and corrects exposure far more cleanly than a browser can, for the shots worth the extra step.
Neither can un-smear a blurred frame — no editor can. But if your photo’s real problem is that it’s dark and grainy, it’s almost certainly salvageable. Drop it in and see.