
Guide · 8 min read · July 6, 2026
Shooting in difficult light: backlight, harsh sun, and everything between
"Difficult light" isn't one problem — it's four or five, each with its own cause and its own fix. Learn to spot backlight, harsh sun, mixed colour, and high contrast, and you'll know the one move that saves the shot — on any camera.
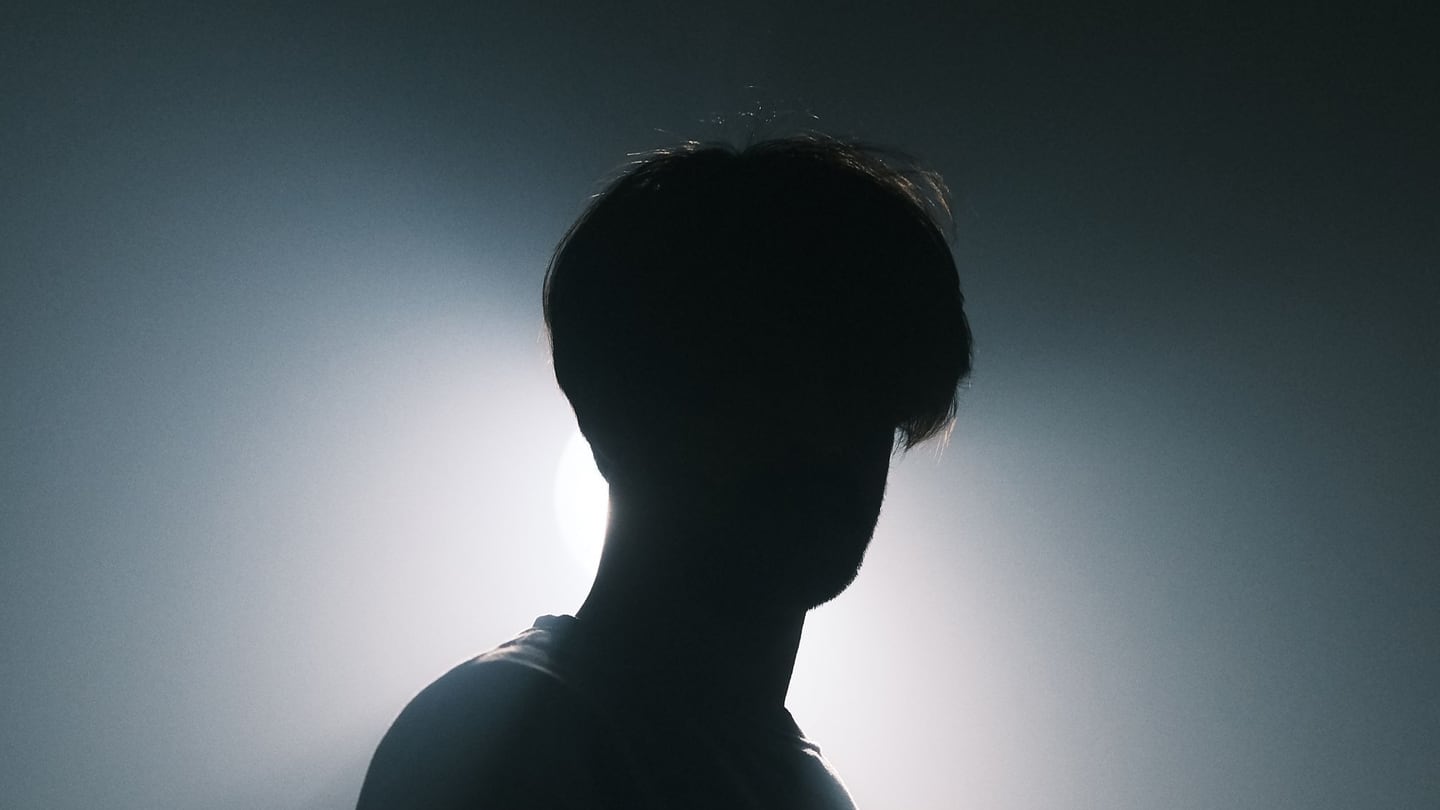
“Difficult light” gets blamed for a lot of bad photos, but it isn’t one problem — it’s four or five, each with a different cause and a different fix. Your camera assumes the light in front of it is roughly average and roughly even. When it isn’t — a bright window behind your subject, midday sun carving hard shadows, a room lit by three kinds of bulb — the camera guesses wrong and the photo pays for it. The skill isn’t owning better gear; it’s recognising which kind of hard light you’re standing in, because each one has a single move that turns a write-off into a keeper. None of this is phone-specific — it works with whatever camera is in your hands.
Your camera meters for average — hard light isn’t average
Left to itself, a camera tries to make the overall scene come out as a middle grey. That works most of the time, which is exactly why it fails so badly when it doesn’t: point it at something very bright and it darkens everything to compensate; point it at something very dark and it over-brightens. A backlit face goes to shadow; a snowy field comes out dingy grey. Almost every fix below is a variation on the same idea — tell the camera what actually matters, instead of letting it average the whole frame.
Backlight: your subject turns into a silhouette
When the brightest thing in the frame sits behind your subject — a window, the open sky, a sunset — the camera exposes for all that brightness and leaves the subject a dark shape. You have two honest choices:
- Keep the subject. Meter on them, not the background: tap their face on a phone, or spot-meter / add positive exposure compensation on a camera. The background will brighten, maybe blow out — that’s the price. Or add light to the front: a reflector, a pale wall to bounce off, even a second phone’s torch.
- Keep the silhouette. Lean into it. Meter for the bright background and let the subject go graphic and black. Backlight is the one “problem” that doubles as a look.
What you can’t do is have both a perfect subject and a perfect bright background in a single frame — that’s the high-contrast case further down.
Harsh midday sun: hard shadows and blown highlights
Overhead sun is the light everyone has and nobody likes: raccoon-eye shadows under brows, squinting, glare, highlights burned to white. You can’t turn the sun down, so move instead:
- Find open shade — under an awning, a tree, the shadow side of a building. Shade is soft, even light and it flatters almost everything.
- Stuck in the open? Expose for the highlights (below) so the bright areas keep detail, and turn faces slightly away from the sun to soften the shadows.
- Overcast isn’t difficult light — it’s a giant softbox. Some of the best portraits happen under a flat grey sky.
Mixed and artificial light: the colours go wrong
Indoors, light arrives in colours: warm tungsten bulbs, greenish fluorescents, cool white LEDs, daylight leaking through a window — often several at once. Your eyes correct for it automatically; the camera doesn’t, so skin turns orange or a little sickly.
- Reduce the mix. Where you can, shoot near one dominant source — the window, or the lamps, not a tug-of-war between them.
- Set the white balance to match that main light instead of leaving it on Auto, which just averages the mess.
- Shoot RAW if you can — it preserves the full colour information so white balance can be corrected later with no quality loss. One caveat if LuminaClean is your next stop: the current version works with JPG and PNG, so get the white balance close in-camera rather than relying on a RAW fix.
High contrast: bright and dark in the same frame
Sometimes the light itself is lovely — there’s simply too much range between the brightest and darkest parts for the camera to hold both, like a sunlit street framed by deep shade. The sensor has to pick an end. Pick for it, in this order:
- Expose for the highlights. Clipped bright areas are gone for good; dark areas can be lifted afterward. When in doubt, protect the bright end.
- Bracket or use HDR if your camera offers it — it captures several exposures and merges them to hold both ends. Hold still while it works.
- Lift the shadows later in an editor. This is exactly the recoverable case from What actually ruins night photos: darkness hides detail, it doesn’t destroy it.
Low light: not enough to work with
The hardest case — dusk, interiors, night — really is a guide of its own. The short version is the same three moves: keep the camera dead still, use whatever light is actually there, and expose for the highlights so the frame stays recoverable. For the full field version — written phone-first, but the habits carry to any camera — read Shooting better night photos with the phone you have.
The one habit that covers all of them
Notice how many of these sections end the same way: protect the highlights, rescue the shadows later. Backlight, harsh sun, high contrast, low light — in every one, a clipped highlight is unrecoverable and a dark shadow is not. If you remember nothing else about difficult light, bias every exposure toward keeping the bright end intact. You can almost always lift the rest.
Then rescue the rest in LuminaClean
Good exposure decisions in hard light leave you with a frame that’s a touch dark and a touch noisy — the easy problem. LuminaClean lifts the shadows and smooths the grain: the Local engine instantly in your browser, or Cloud AI for a cleaner result on the shots worth it. Bring your trickiest frame and see how much comes back.