
Guide · 7 min read · July 6, 2026
Shooting better night photos with the phone you have
You don't need a new phone or a tripod. A handful of habits — how you hold it, what you meter on, when to let night mode finish — fix most night shots before you ever open an editor.
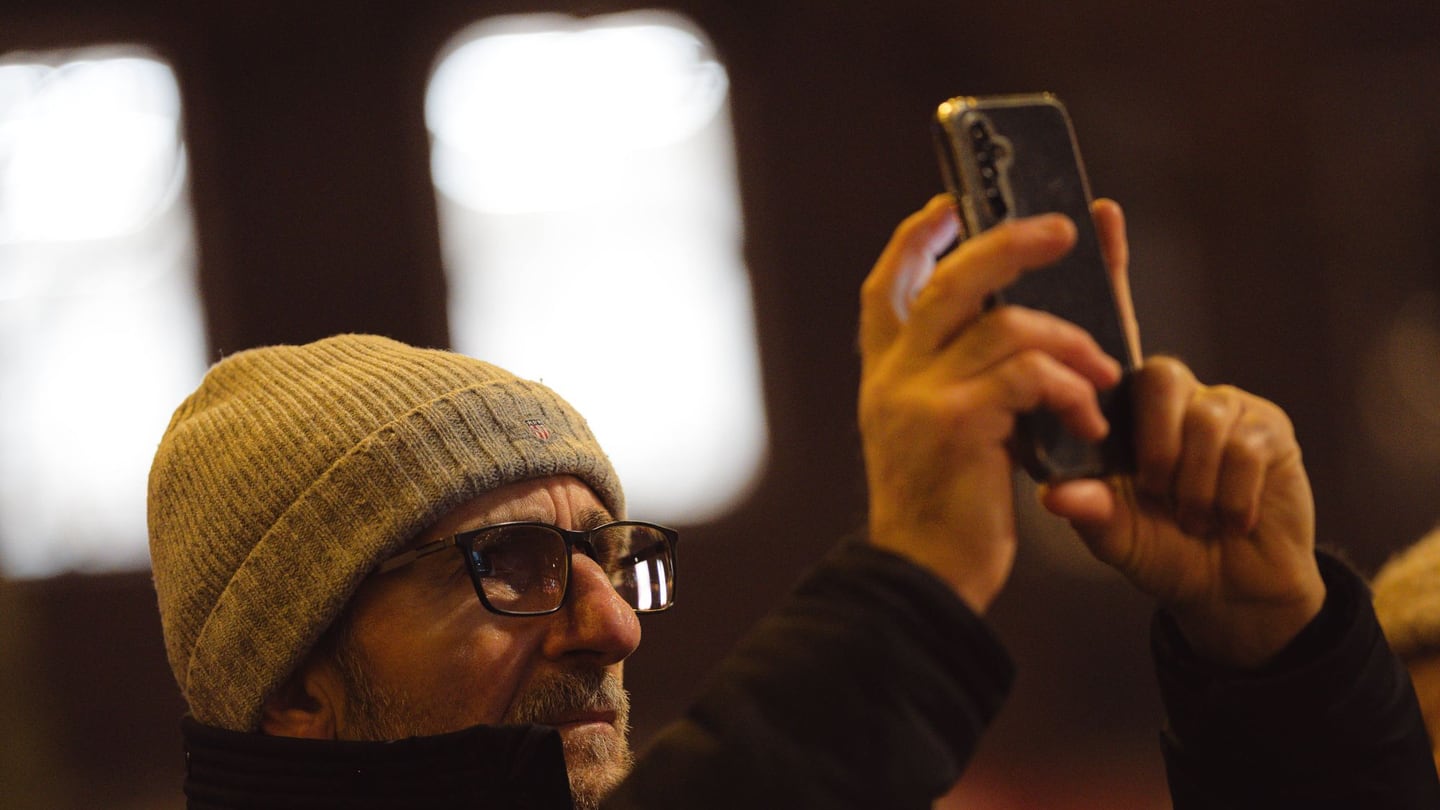
The best fix for a bad night photo is the one you make before you take it. Editing can lift shadows and clean up grain — but it can’t rebuild a smeared frame or invent a highlight you blew out. The good news is that the habits that prevent those problems cost nothing and work on the phone already in your pocket. And while every example here assumes a phone — because that’s what most of us actually shoot with after dark — the fundamentals apply to any camera caught in bad light. Here are the ones that matter most, roughly in the order they’ll improve your shots.
Hold the camera still — longer than feels natural
Night shots use long exposures, sometimes a full second or more. For that entire window the sensor is recording, and any wobble smears the result. Your instinct is to tap the shutter and lower the phone right away; at night that’s exactly what ruins the frame.
A few ways to steady it, cheapest first:
- Brace against something solid — a wall, a railing, a lamppost, a parked car. Even a light lean removes most of the shake.
- Tuck your elbows into your ribs and hold the phone with both hands. You’re turning your upper body into a tripod.
- Exhale, then squeeze the shutter gently instead of stabbing at it.
- Use the volume button or the self-timer so your finger isn’t nudging the screen at the critical moment. A two-second timer lets the phone settle before it fires.
- Prop the phone on a ledge when you can — a rock, a bench back, a bag. A steady surface beats steady hands every time.
Hold your position until the capture actually finishes, not just until you hear a click. On a long night exposure, “finished” can be a beat or two later than you expect.
Expose for the highlights, not the shadows
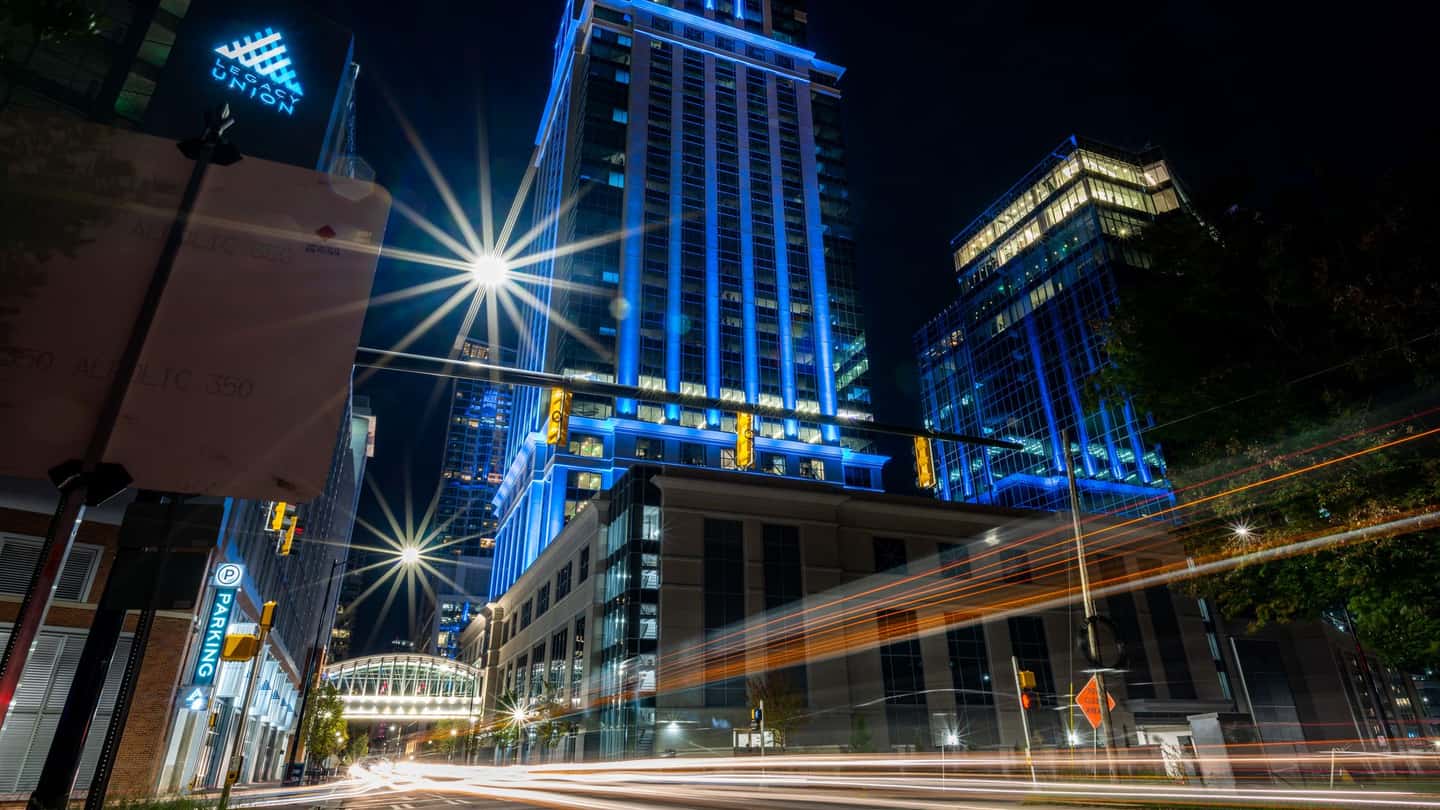
This is the single habit that separates recoverable photos from ruined ones. Bright points in a night scene — streetlights, neon, lit windows, signs — clip to pure white almost instantly, and once a highlight is clipped there’s no detail left in it to bring back. Shadows are the opposite: they hold their information even when they look nearly black, so you can lift them later.
So bias toward the highlights. Tap on the brightest part of the scene to meter there, and if your camera app has an exposure slider (usually a little sun icon after you tap), drag it down until the bright areas stop glowing into a shapeless blob. The photo will look too dark on the screen — that’s fine. A clean, slightly underexposed frame is easy to brighten. A bright frame with blown-out lights is not fixable.
If you remember one thing from this guide: protect the highlights, rescue the shadows later.
Skip digital zoom
Optical zoom uses a real lens and keeps its detail. Digital zoom just crops into the sensor and enlarges what’s left — you’re throwing away the very pixels you can least afford to lose in low light, then asking software to guess at the gaps. At night the result is a soft, noisy mess.
Instead, move closer if you safely can, or shoot wider and crop later on a bigger screen where you can see what you’re doing. If your phone has a dedicated telephoto lens, that’s genuine optical zoom and fair game; the pinch-to-zoom-past-1× that keeps going is the one to avoid. (On a dedicated camera the rule is the same in different clothes: reach for a longer lens or step closer — don’t crop in-camera to fake reach.)
Use whatever light you already have
Night doesn’t mean no light — it means uneven light. A subject standing under a streetlight, beside a lit shop window, or in the glow of a sign will come out dramatically cleaner than the same person in open shadow, simply because they’re actually lit. More light on the subject means the camera needs less sensitivity, which means less noise before you’ve done anything else.
So compose around the light that’s there. Move a person a step toward the nearest source and turn them slightly into it. Shoot with the bright storefront behind you, not behind them. In a pinch, a friend’s phone torch bounced off a pale wall makes a soft, flattering fill that beats the harsh, red-eye glare of your own flash.
Let night mode finish
Modern night modes don’t take one long exposure — they capture a burst of frames over a couple of seconds and merge them, aligning the sharp bits and averaging away the noise. It’s genuinely clever, and it’s doing real work in that countdown.
To get the most from it:
- Hold still through the whole countdown. The phone is stacking frames; move, and the merge goes soft. This is the same steadiness from the first section, and it matters most here.
- Don’t shoot moving subjects with it. A person walking or a passing car will “ghost” — appear as a faint smear — because they were in a different place in each stacked frame. For anything moving, turn night mode off and accept a darker, sharper single shot you can brighten afterward.
- Give it a stable surface if the countdown is long. Propped on a ledge, night mode can pull off multi-second captures a handheld shot never could.
Shooting a camera without a night mode? The equivalent is to do by hand what the phone automates: brace it on something solid, drop to a longer exposure, and accept a higher ISO you’ll clean up in an editor afterward.
Keep the lens clean
Phones live in pockets and hands, and the lens picks up a film of grease you’ll never notice by day. At night that smudge catches every bright light source and scatters it into a soft haze across the frame — the whole photo looks foggy for no obvious reason. A quick wipe on a clean, soft cloth (a shirt hem in a pinch) fixes it instantly. Make it the first thing you do before any night shot.
Shoot RAW if you plan to edit — with one caveat
If your camera app offers RAW, it records far more of the scene’s shadow and highlight information than a standard JPG, which gives an editor much more room to lift the darks without the image falling apart. For serious night editing it’s worth turning on.
The caveat: RAW files are large, and they need an editor that can read them. LuminaClean’s current version works with JPG and PNG, not RAW — so if LuminaClean is where your photos are headed, you’ll get the best results by capturing a clean, well-exposed JPG using the habits above, rather than a RAW you can’t yet bring in. (RAW support is a known gap, not a permanent one.)
The short version
Everything above, boiled down to a pre-shot checklist:
- Wipe the lens.
- Brace, two hands, elbows in — steady beats everything.
- Meter on the brightest thing and drop the exposure a touch.
- No digital zoom — step closer or crop later.
- Let night mode finish, and switch it off for anything that moves.
Then fix the rest in LuminaClean
Good capture gets you most of the way; a good editor closes the gap. Once you’ve got a steady, highlight-safe frame, LuminaClean lifts the shadows and smooths the leftover grain — the Local engine instantly in your browser, or Cloud AI for a noticeably cleaner result on the shots worth it.
And if you want to know exactly which of your night-photo problems an editor can and can’t solve, read the companion guide: What actually ruins night photos — and what’s fixable. Then try it on tonight’s shot.